Radon Mitigation: An Updated Illinois Guide for 2023
Radon is a naturally occurring radioactive gas that is present in the soil and rock beneath our homes. If not addressed, it can pose serious health risks to occupants of a building. The good news is, the radon mitigation process has come a long way in recent years, and today it is easier than ever to reduce radon levels in your home.
Here’s a comprehensive guide on the radon mitigation process in 2023.
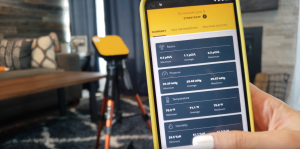
Step 1: Testing for Radon The first step in the radon mitigation process is to test your home for radon. This can be done by using a radon test kit, which can be easily purchased online or from a hardware store. These kits come with simple instructions and take only a few minutes to set up. To get more accurate results, it is recommended to use NRPP certified and licensed Radon Measurement Professional.
Step 2: Hiring a Professional Radon Mitigation Specialist If the test results show that your home has high levels of radon, the next step is to hire a professional radon mitigation specialist. These specialists are trained in the latest techniques for reducing radon levels and will have the necessary equipment and expertise to get the job done right according to the state rules and policies.
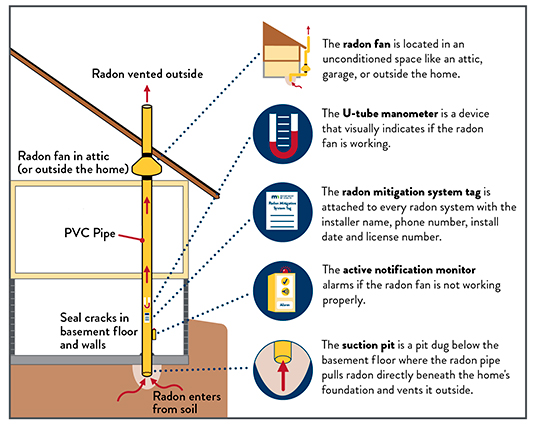
Step 3: Designing a Radon Mitigation System Once a professional has been hired, they will conduct a thorough inspection of your home to determine the best course of action for reducing radon levels. They may recommend a variety of radon mitigation systems, including sub-slab depressurization, soil suction, and vent pipes.
Step 4: Installing the Radon Mitigation System After the design of the radon mitigation system has been completed, the professional will then proceed to install it. This may involve excavation of the foundation, installation of fans and piping, and sealing of any cracks or gaps in the foundation. The entire process typically takes only a day to complete and is relatively non-invasive.

Step 5: Testing After Mitigation The final step in the radon mitigation process is to test your home again to ensure that the radon levels have been reduced to a safe level. This is typically done 24 hours to 30 days after the mitigation system is installed.
In conclusion, the radon mitigation process has come a long way in recent years, making it easier and more effective than ever before.
By following these steps, you can protect your family from the harmful effects of radon and ensure that your home is a safe and healthy environment.
Here is a great link to find a Radon Mitigation Company that is NRPP certified (highest certification). https://nrpp.info/pro-search/
If you’d like more info about our radon testing process click here : https://northwestradontesting.com/testing-process/